Planning and Preparation
Planning ensures a smooth installation process. Determine the fence purpose, measure the area, obtain permits, and create a materials checklist. Proper preparation is key to success.
1.1 Determining the Purpose of the Fence
Determining the purpose of the fence is the first step in planning. Is it for privacy, security, or boundary marking? For chain link fences, common purposes include enclosing yards, protecting pools, or securing commercial properties. Understanding the fence’s function helps decide its height, material gauge, and additional features like barbed wire or gates. Residential fences often range from 3 to 6 feet tall, while commercial ones may be taller for enhanced security. Pool fences typically follow safety regulations, such as ASTM standards. Knowing the purpose ensures the fence meets functional and legal requirements, guiding material selection and design choices. This step prevents costly modifications later.
1.2 Measuring the Area for Installation
Accurate measurements are essential for a successful fence installation. Use a string line and stakes to mark the fence perimeter. Measure the distance between terminal posts (corners or gate locations) to determine the total length. Divide this distance into equal sections for line posts, typically spaced 8 to 10 feet apart. Ensure the measurements account for any slopes or uneven terrain. Double-check the layout to avoid encroaching on neighboring properties. Proper measurement prevents material shortages or excess, ensuring the fence fits perfectly. This step is critical for aligning posts and fabric correctly, as outlined in chain link fence installation guides. Precision here saves time and effort later.
1.3 Obtaining Necessary Permits
Obtaining permits is a critical step before starting your fence installation. Check with local authorities to determine if a permit is required for your chain link fence. Permits ensure compliance with local building codes and regulations. For example, swimming pool fences may require specific certifications like ASTM F1908. Additionally, verify utility lines with local companies to avoid damaging underground cables or pipelines. Failure to obtain the necessary permits can lead to fines or project delays. Always wait for approval before proceeding with installation. Proper documentation ensures your fence meets safety and legal standards, as outlined in chain link fence installation guides. Compliance is essential for a hassle-free project.
1.4 Creating a Materials Checklist
Creating a detailed materials checklist ensures you have everything needed for your chain link fence installation. Start by listing essential components like posts, rails, and chain link mesh. Include hardware such as tie wires, band bolts, and tension bars. Tools are crucial too—don’t forget items like post-hole diggers, wrenches, and fence stretchers. Refer to the installation guide for specific materials and quantities. Measure your fence line to calculate the exact number of posts and mesh required. Organize your checklist by categories, such as posts, hardware, and tools, to avoid missing anything. Having all materials ready saves time and prevents delays during installation. This step is vital for a smooth process.
Materials and Tools Needed
Chain link mesh, posts, rails, tie wires, band bolts, and tension bars are essential materials. Tools include post-hole diggers, shovels, wrenches, and fence stretchers.
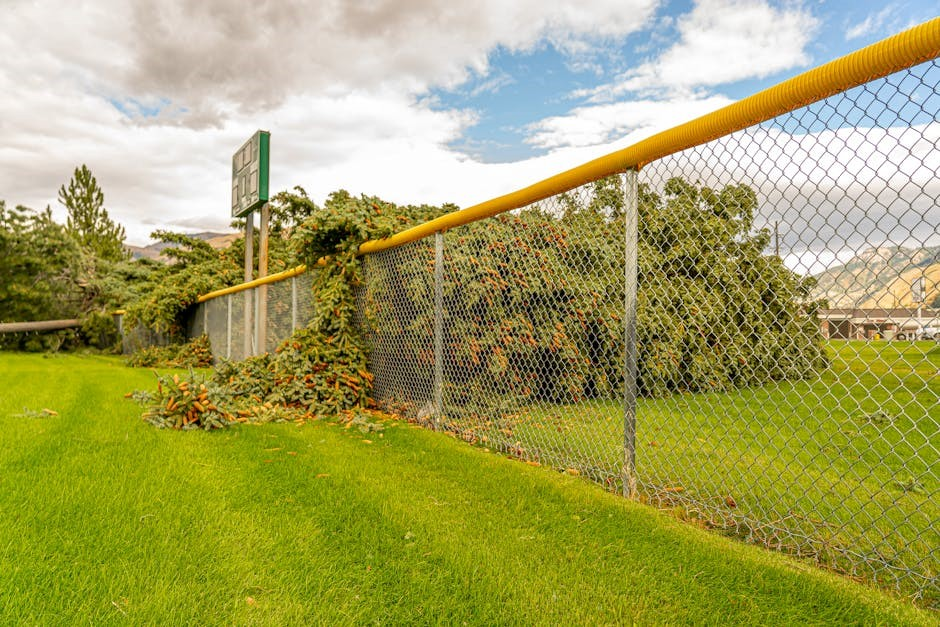
2.1 Fence Components (Posts, Rails, Mesh, etc.)
The fence components include posts, rails, and chain link mesh. Posts are available in various diameters and heights. Rails are horizontal or vertical supports. Chain link mesh is durable and weather-resistant. These components are essential for installing a sturdy fence. Proper selection ensures longevity and functionality. Measure the area to determine quantities needed. Ensure all parts are compatible. Quality materials guarantee a strong fence structure. Detailed guides provide specific component requirements. Always refer to the installation manual for accurate measurements and specifications. Proper component selection is crucial for a successful installation. Plan carefully to avoid material shortages or excess. This ensures the fence is both functional and visually appealing.
2.2 Tools Required for Installation
Essential tools include a post hole digger, shovel, and trenching shovel for digging holes. Bolt cutters and wire cutters are needed for cutting mesh and wire. A wrench and pliers are useful for tightening bolts and securing components. A fence stretcher is necessary for tensioning the mesh. Safety gear like gloves and goggles is recommended. Optional tools include a power auger for faster digging and an impact wrench for quick bolt tightening. Ensure all tools are in good condition to avoid delays. Proper tools ensure accurate and efficient installation. Gather all necessary tools before starting to streamline the process. This helps in completing the installation effectively and safely. Always follow safety guidelines when using power tools.
Site Preparation
Mark the fence line using a string and stakes. Clear debris, vegetation, and obstructions. Ensure the area is level and ready for post installation. Proper preparation ensures accuracy.
3.1 Marking the Fence Line
To mark the fence line, use a string and stakes to outline the perimeter. Measure and divide the distance between terminal posts to ensure even spacing. Align the string tightly to guide post placement. Check for obstacles and adjust the layout as needed. Proper marking ensures accurate installation and prevents future issues. Use a level to maintain straight lines, especially on uneven terrain. This step is crucial for aligning posts and fabric correctly, ensuring the fence is visually appealing and structurally sound. Marking accurately sets the foundation for the entire project.
3.2 Clearing the Area
Clear the area where the fence will be installed by removing debris, vegetation, and obstructions. Ensure the ground is level and free from obstacles to facilitate accurate measurements and installation. Use tools like shovels or weed killers to prepare the site. Proper clearing ensures the fence aligns correctly and avoids damage to surrounding structures. Remove any roots or rocks that could interfere with post digging. Keep the area clean to prevent tripping hazards during installation. Clearing the area thoroughly is essential for a smooth and successful fence setup. This step ensures the fence is installed safely and efficiently.

Setting the Posts
Dig holes for posts, ensuring proper depth and alignment. Use concrete to secure corner and end posts for stability. Space line posts evenly between them.
4.1 Digging Holes for Posts
Dig holes for posts, typically 12 inches deep and 18 inches wide for standard chain link fences. Use a post-hole digger or power auger for efficiency. Mark the center of each hole using string and stakes to ensure alignment. For corner and end posts, dig slightly deeper to accommodate concrete footings. Space holes 8-10 feet apart for line posts, depending on fence height and local building codes. Check for underground utilities before digging to avoid damage. Ensure holes are level and aligned properly to maintain the fence’s structural integrity. Properly dug holes are essential for stable and secure post installation.
4.2 Installing Corner and End Posts
Begin by setting corner and end posts, as they serve as the structural foundation. Dig holes slightly deeper for these posts to accommodate concrete footings. Place the posts in the holes, ensuring they are plumb using a level. Fill the holes with concrete, spreading it evenly around the post base. Allow the concrete to set completely before proceeding. Once set, attach the appropriate hardware, such as loop caps or dome caps, to secure the posts. Ensure corner and end posts are aligned properly with the fence line and spaced correctly according to your measurements. These posts must be stable and level to support the rest of the fence structure effectively.
4.3 Setting Line Posts
After setting corner and end posts, install line posts between them. Space line posts evenly, typically 8 to 10 feet apart. Dig holes 12 inches deep for each post. Place posts in the holes, ensuring they are plumb and level. Fill the holes with soil, tamping it down firmly to secure the posts. Attach loop caps or other hardware to the top of each post. Ensure all posts align with the fence line and are spaced correctly. Double-check the alignment and plumbness before moving forward. Properly set line posts are essential for maintaining the structural integrity and appearance of the fence. Do not proceed until all posts are securely in place.
Attaching Hardware
Attach the top rail securely to all posts. Install tension wire along the bottom for added stability. Use tie wires to fasten the mesh properly.
5.1 Installing Top Rail
The top rail is essential for structural integrity. Cut it to match the distance between corner posts. Secure it using rail brackets or band bolts, ensuring tightness. Align it evenly for a professional finish.
5.2 Adding Tension Wire
Install tension wire along the top rail to maintain fabric tautness. Attach one end to a terminal post and thread it through the rail. Use a wrench to tighten the wire securely. Ensure the wire is taut but not over-tightened, as this could damage the fence. Proper tension prevents sagging and ensures the mesh remains straight. Check the wire alignment and adjust as needed for even distribution of tension across the fence. This step is crucial for the structural integrity and appearance of the fence, ensuring it withstands environmental stress and remains securely in place over time.
5.3 Securing with Tie Wires
After attaching the mesh to the posts, use tie wires to secure it firmly. Loop the wire around the post and through the mesh, then twist it tightly with a wrench. Ensure the wire is snug to prevent sagging. For added stability, tie wires should be spaced every 12-18 inches along the fence. This step ensures the mesh remains taut and properly aligned with the posts. Properly securing the mesh with tie wires is essential for the fence’s structural integrity and longevity. Follow the manufacturer’s guidelines for wire tension to avoid damaging the posts or mesh.
Hanging the Fabric
Unroll the chain link mesh along the fence line, aligning it with the posts. Secure the fabric to the top rail using temporary ties to hold it in place.
6.1 Unrolling and Aligning the Chain Link Mesh
Start by unrolling the chain link mesh along the fence line, ensuring it is aligned properly with the posts. Lay the mesh flat on the ground, beginning from a terminal post. Use a string line to guide the alignment, ensuring the fabric is evenly spread and not twisted. Secure one end temporarily to the post to maintain position while unrolling. Proper alignment prevents wrinkles and ensures a professional finish. If the mesh is misaligned, adjust it before securing to avoid costly rework.
6.2 Attaching the Mesh to Posts
Begin by attaching the chain link mesh to the terminal posts. Loop the mesh through the post and secure it using tie wires or cable ties. Ensure the mesh is tightly fastened to maintain proper tension. Next, slide a tension bar through the mesh at the end post to hold it in place. Attach the mesh to each line post using tie wires, spacing them evenly (about 12 inches apart). Make sure the mesh is aligned straight and not sagging. Tighten the wires firmly to prevent looseness. Proper attachment ensures the fence remains stable and visually appealing. Avoid over-tightening, as this could damage the mesh or posts.
6.3 Adding Barbed Wire (if applicable)
If adding barbed wire for extra security, start by wrapping it around the terminal posts. Secure the wire using tie wires or wire straps. Unroll the barbed wire along the top of the fence, ensuring it is tightly fastened. Attach the wire to each post using tie wires, spacing them evenly (about 12 inches apart). Avoid overlapping strands and maintain consistent tension. For added protection, you can add multiple strands of barbed wire. Always wear protective gloves when handling barbed wire, as it is sharp and can cause injury. This step enhances security but should be done carefully to avoid damage to the fence or surrounding areas.
Stretching and Tightening
Use a fence stretcher to tighten the chain link mesh. Attach the stretcher to the end post and crank until the fabric is taut with no slack.
7.1 Using a Fence Stretcher
Attach the fence stretcher to the end post and the stretcher bar. Crank the tool to tighten the mesh until it is taut with minimal slack. Ensure even tension to prevent sagging or damage. Proper use of the stretcher ensures a secure and visually appealing fence. Always follow manufacturer instructions for optimal results.
7.2 Tightening the Mesh
After stretching, check the mesh for tension by squeezing it; it should compress 2-4 cm. If slack remains, repeat the stretching process. Once tight, trim excess material at the top and bottom using wire cutters. Ensure the mesh is evenly tensioned to avoid sagging or unevenness. Proper tightening ensures durability and a professional finish. Always wear gloves when handling wire to prevent injuries.
Final Touches
Trim excess mesh and install a gate for completion. Ensure all edges are secure and gates function smoothly for a polished, professional finish.
8.1 Trimming Excess Material
After tightening the mesh, excess material may remain. Use wire cutters or bolt cutters to trim the surplus chain link fabric neatly. Ensure cuts are clean and smooth to maintain the fence’s appearance. Avoid leaving sharp edges that could cause injuries or damage. Proper trimming ensures the fence looks professional and functions optimally. This step is crucial for safety and aesthetics, completing the installation process effectively.
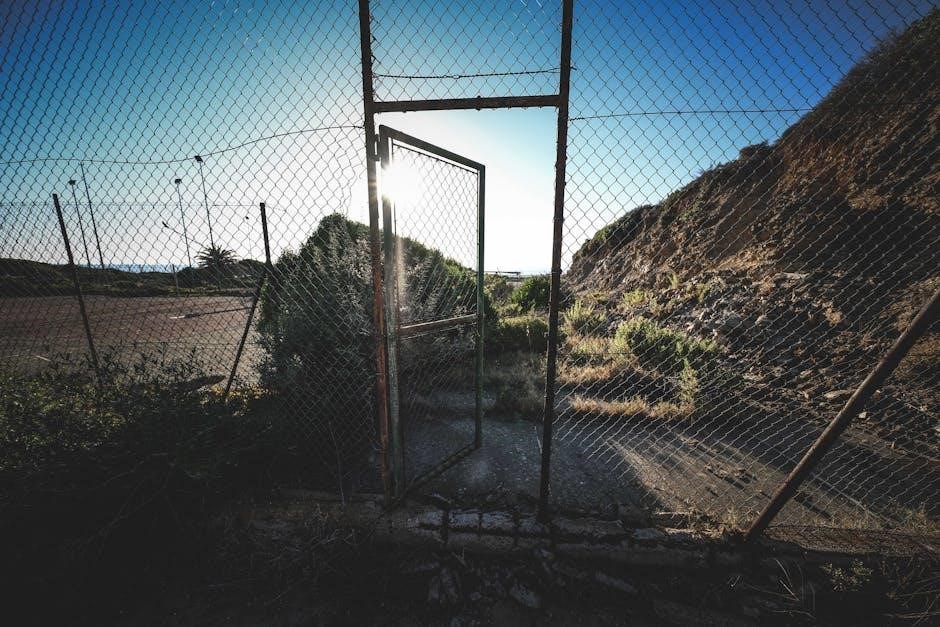
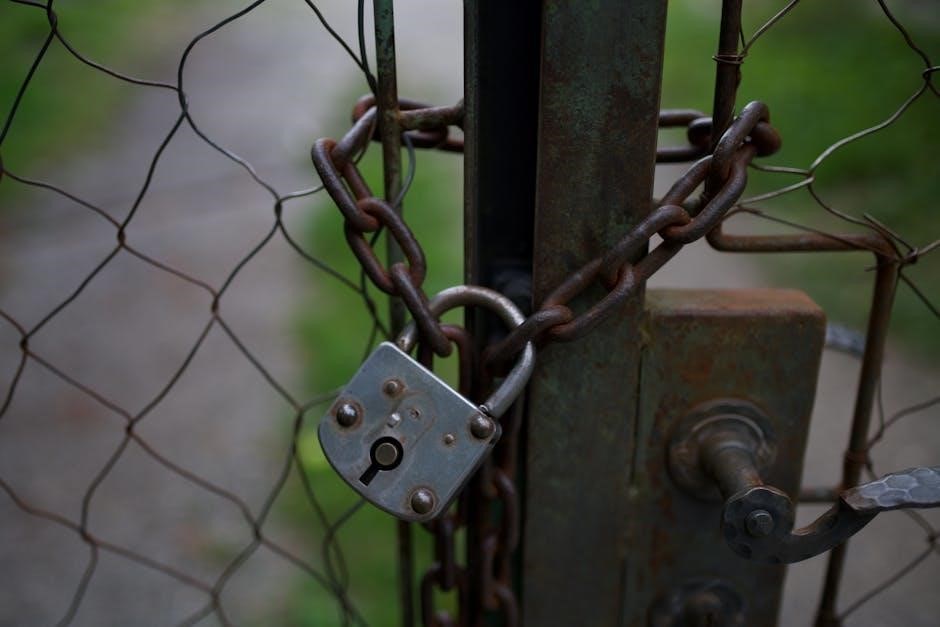
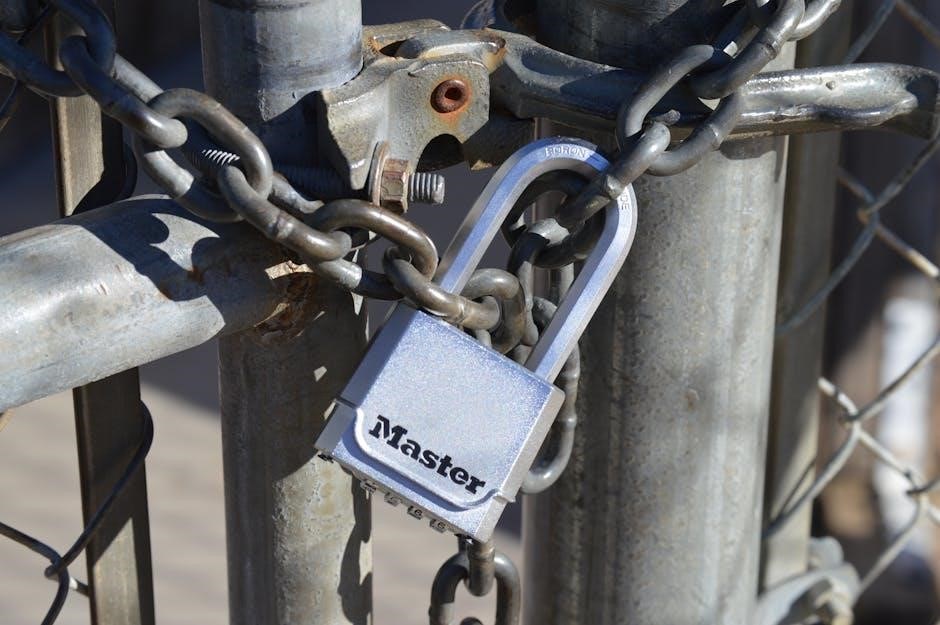
8.2 Installing a Gate
Gate installation is the final step. Attach hinges to the gate frame and secure them to the fence posts using lag bolts. Ensure the gate aligns properly with the surrounding fence for smooth operation. Install a latch or lock on the opposite post to secure the gate. Adjust the hinges if necessary to achieve proper alignment and movement. Finally, test the gate to ensure it opens and closes smoothly without sagging. A well-installed gate completes the fence, providing both security and access to the enclosed area.

Safety Considerations
Safety is paramount during fence installation. Always wear protective gear, including gloves and safety glasses, to prevent injuries. Ensure the work area is clear of debris and tripping hazards. When handling tools like post-hole diggers or fence stretchers, maintain a firm grip and operate them carefully. Avoid overreaching or lifting heavy materials without assistance. Be mindful of electrical lines and underground utilities to prevent accidents. Secure the fence area to prevent unauthorized access during construction. Regularly inspect tools and materials for damage. Follow all manufacturer guidelines for equipment use. Proper safety practices ensure a successful and injury-free installation process.
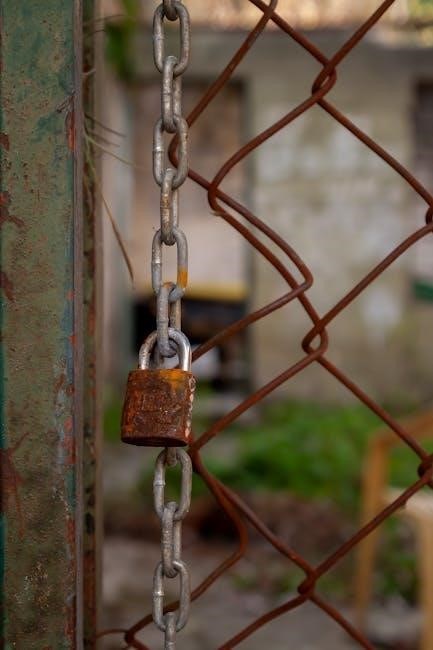
Maintenance Tips
Regular maintenance ensures the longevity of your chain link fence. Inspect the fence periodically for damage, sagging, or loose components. Clear debris like leaves or branches that may accumulate and cause damage. Tighten any loose bolts or ties, and replace damaged or corroded hardware promptly. Apply a rust-inhibiting coating to metal parts to protect against corrosion. Check the fabric for holes or frays and repair them immediately to prevent further damage. Ensure tension wires are secure and properly tightened. Regularly clean the fence to maintain its appearance and structural integrity. Addressing issues early prevents costly repairs and extends the fence’s lifespan.